Nowadays, 3D TVs are preferred by an increasing amount of people. We choose them on consideration of the vivid scene and wonderful visual effect. But it's not so convenient as 2D movies because of the limited 3D movie resources. Now with 3D Converter, you can enjoy as many 3D movies as you like. It makes it possible to convert common 2D movies to 3D format that matches your 3D glasses. 3D movies are also convertible reversely to 2D formats. Besides, you are also allowed to adjust the 3D movie to the suitable format. The following guides will tell you how to complete the conversion step by step.
Click one of the icons under Output 3D Format and choose the format that is compatible to your device. Under the drop-down list of the first icon, there are many modes for you to choose. You are also allowed to adjust the depth of the video as you like. By ticking Switch L/R Image, you can exchange the position of the left and right image.
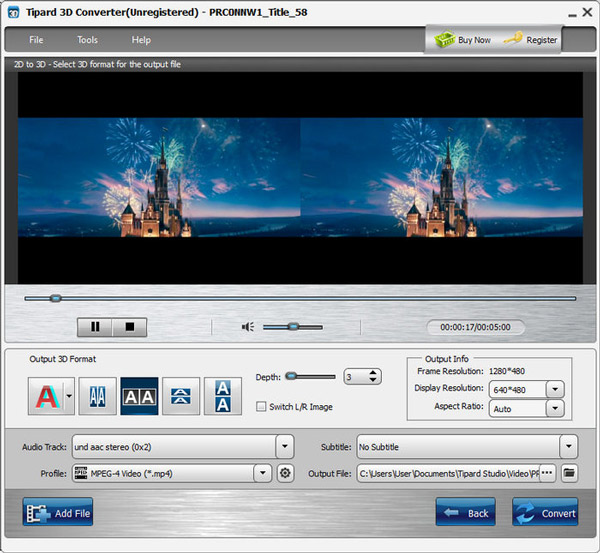
You are allowed to change the display resolution by choosing from the drop-down list or directly input the value in the form of "xxx*xxx". Also you can decide the aspect ratio as you like.
Choose one file in the file list, and click the Profile drop-down arrow to open the profile list, then choose the profile you want from the classified profile list.
Click the Convert button to start the conversion.
Choose 3D to 3D mode and add file by clicking Add File button on the left-down corner or File-Add File.
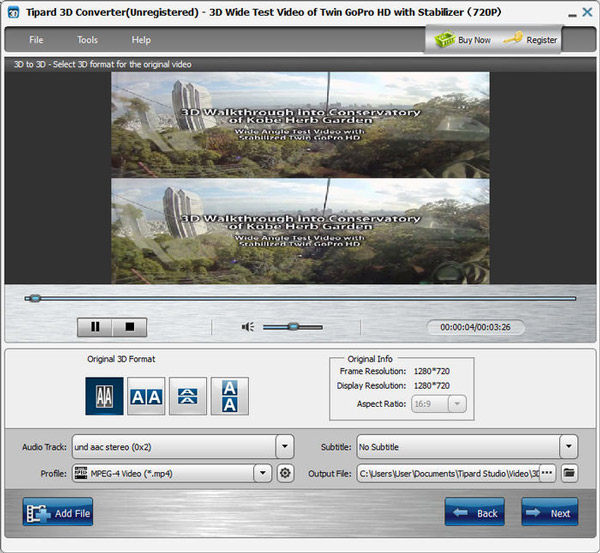
Select the format of the source file under Original 3D Format. Click Next. By clicking one of the icons under Output 3D Format, you can choose the format that is compatible to your device. You are also allowed to adjust the depth of the video as you like. By ticking Switch L/R Image, you can exchange the position of the left and right image.
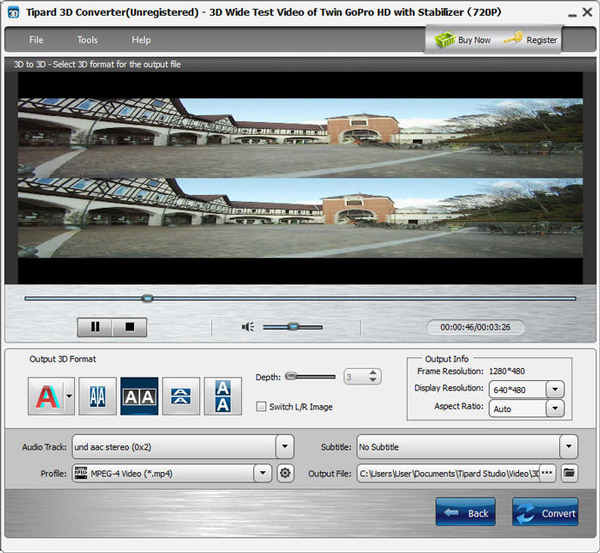
You are allowed to change the display resolution by choosing from the drop-down list or directly input the value in the form of "xxx*xxx". Also you can decide the aspect ratio as you like.
Choose one file in the file list, and click the Profile drop-down arrow to open the profile list, then choose the profile you want from the classified profile list.
Click the Convert button to start the conversion.
Choose 3D to 2D mode and add file by clicking Add File button on the left-down corner or File-Add File.
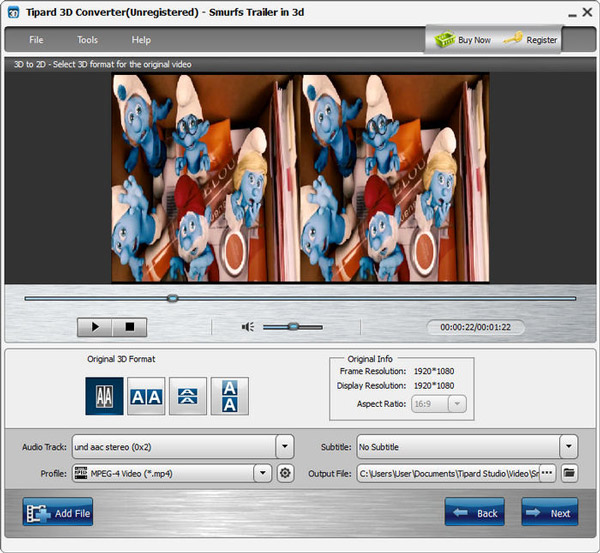
Click Next. By clicking L or R, you can choose to convert the 3D video to the left image or right image. You are also allowed to change the display resolution by choosing from the drop-down list or directly input the value in the form of "xxx*xxx". Also you can decide the aspect ratio as you like.
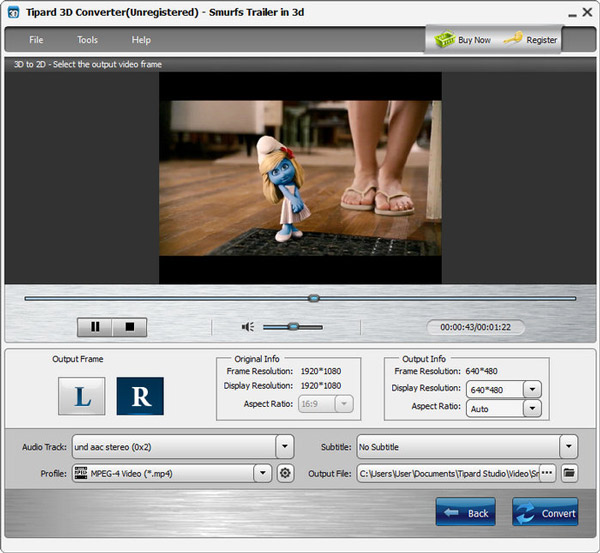
Choose one file in the file list, and click the Profile drop-down arrow to open the profile list, then choose the profile you want from the classified profile list.
Click the Convert button to start the conversion.
Click the button in the right of Profile to open the Profile Settings window.

You are allowed to adjust Encoder, Frame Rate, Resolution, Aspect Ratio and Video Bitrate as you like.
You can adjust Encoder, Sample Rate, Channels and Audio Bitrate according to your own wish.
After you have chosen the encoding options, just click the Save as... button and name your profile, and then the profile will be saved in the User Defined list. You can use the customized profile next time by selecting it from the list.

Home | About | Privacy Policy | Terms of Use | Affiliate | Support | Contact Us
Copyright © 2023 Tipard Studio. All Rights Reserved.